As an international pilgrim you’ll sign up with an email, verify it, then complete your profile with your passport and visa (or border) number. Take your time here — most problems people hit later start with a small typo on this screen.
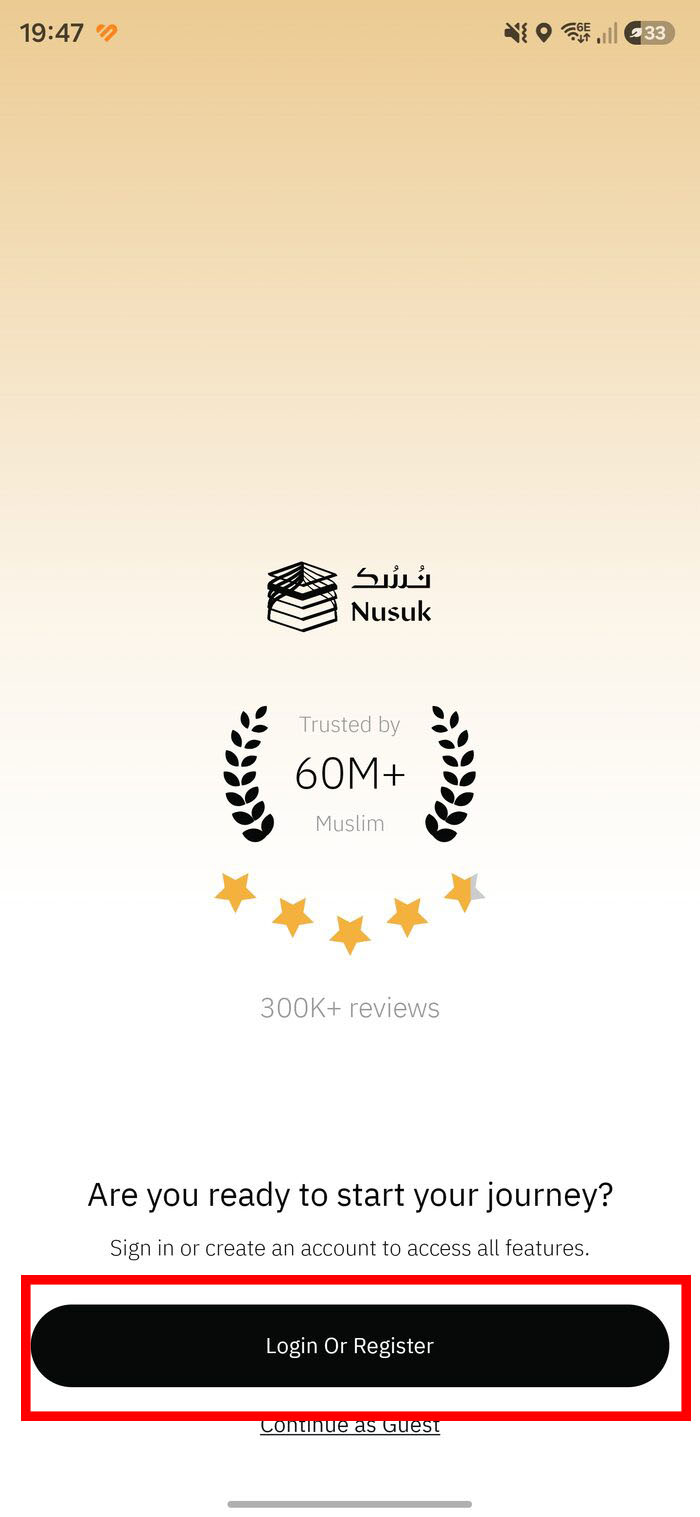
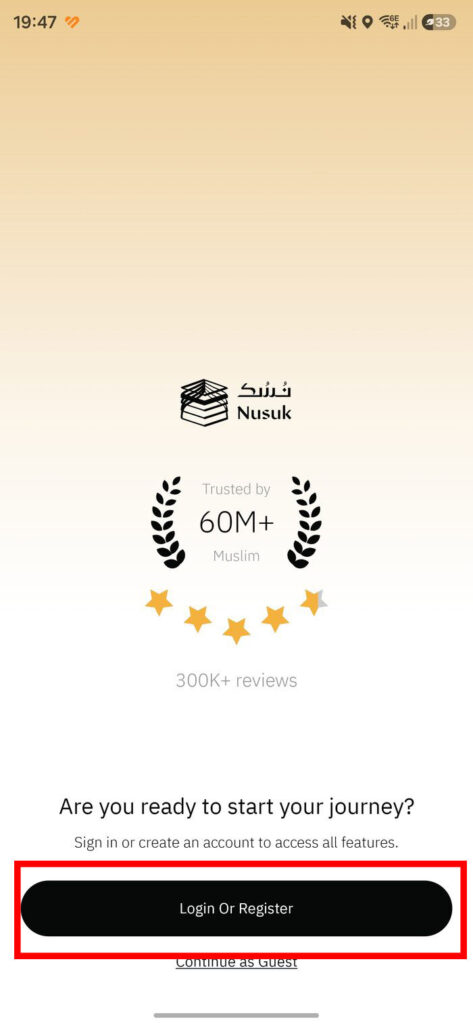
1. Open the app and tap “Login Or Register”
On the welcome screen tap Login Or Register. You can “Continue as Guest” to look around, but you can’t book a permit without a verified account.
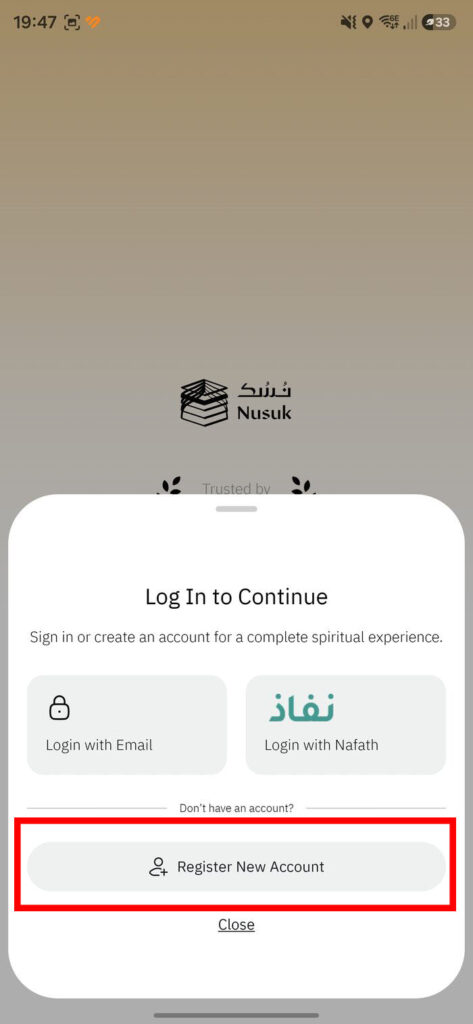
2. Choose “Register New Account”
On the “Log In to Continue” sheet, tap Register New Account. Login with Email is for later, once your account exists. Login with Nafath is for Saudi citizens and residents only — international visitors should not use it.
3. Enter your name, email and password
Use your real name exactly as on your travel documents, and an email you can open right now. Tick the Terms & Conditions and Privacy Policy.
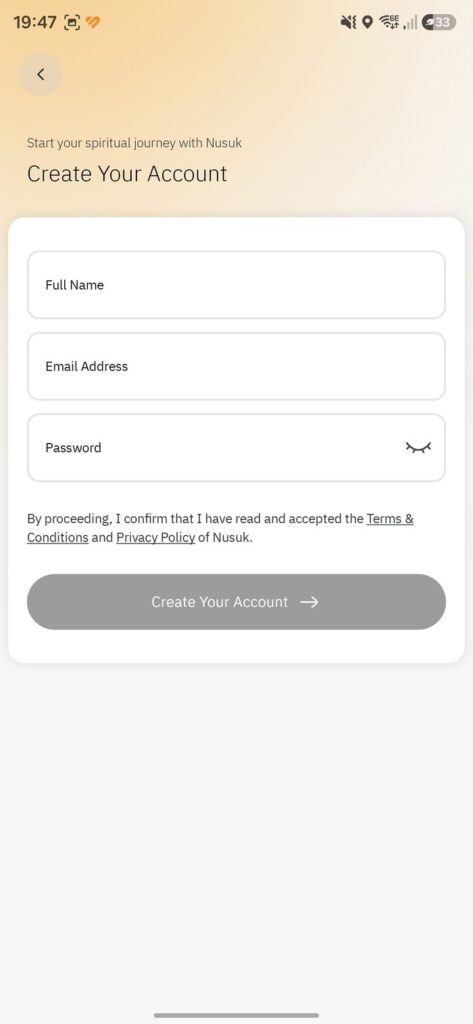
4. Meet the password rules
Each rule turns into a green tick: at least 8 characters, one lowercase, one uppercase, one number, and one symbol with no space. When all five pass, Create Your Account activates.

5. Verify your email
Nusuk emails a 4-digit code. Enter it (check spam if it’s slow), then tap Update Profile.

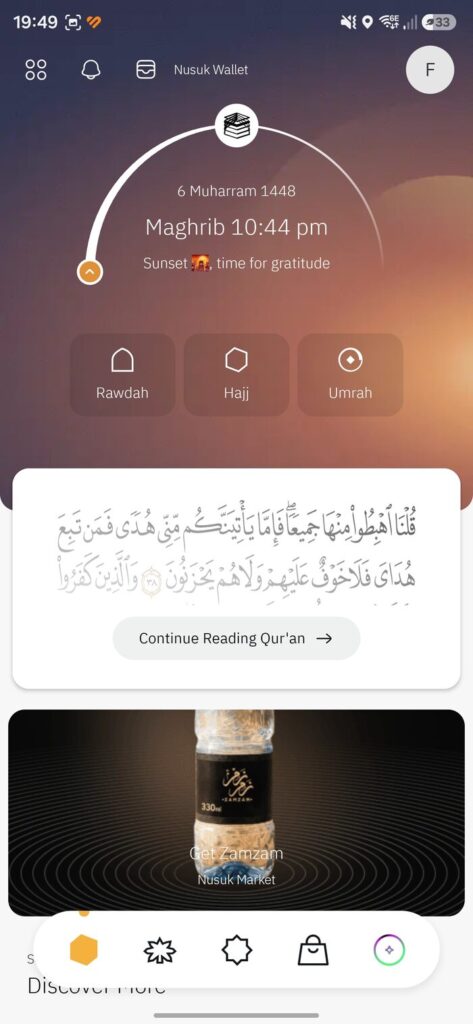
6. Meet the home screen
You’ll land on the home screen with prayer times, the Nusuk Wallet, and quick tiles for Rawdah, Hajj and Umrah. One more step before you can book.
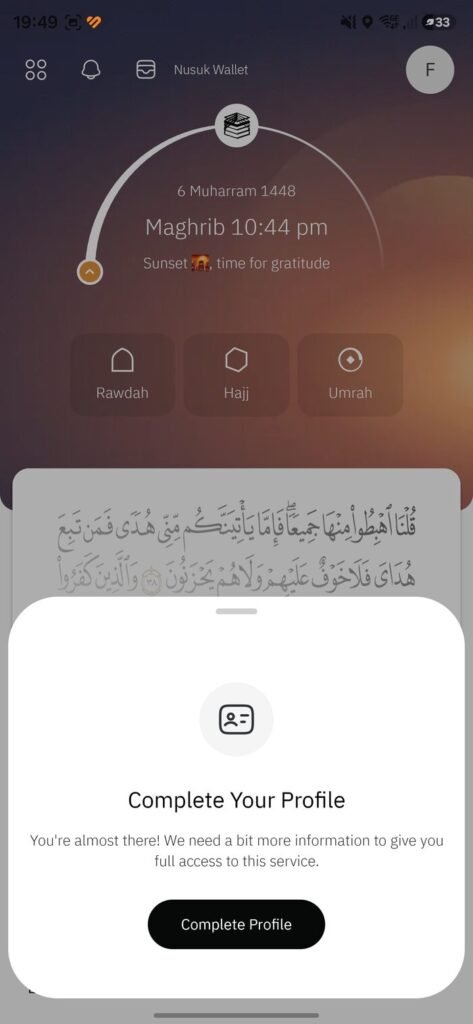
7. Tap “Complete Profile”
A prompt invites you to finish setting up. Tap Complete Profile (also reachable from your profile icon).
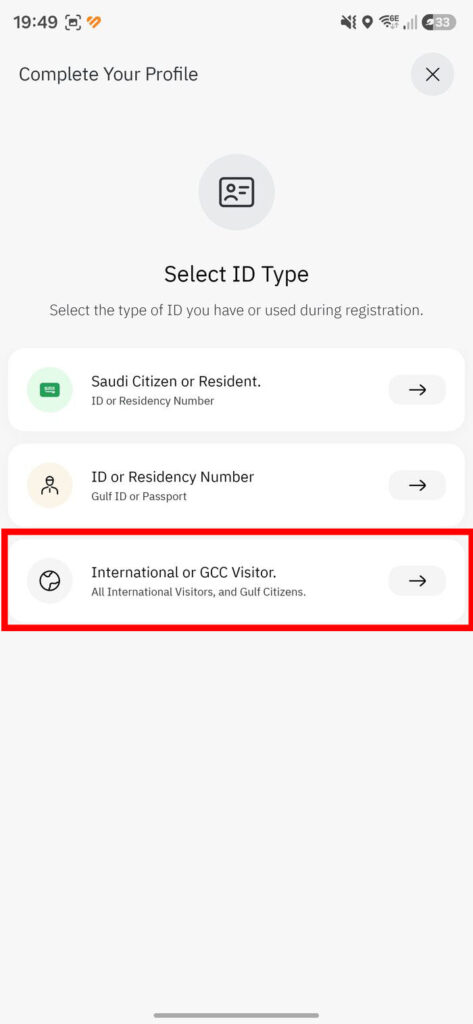
8. Select your ID type
Tap International or GCC Visitor — the option for all international visitors and Gulf citizens. The other two are for people who live in Saudi Arabia or the GCC.
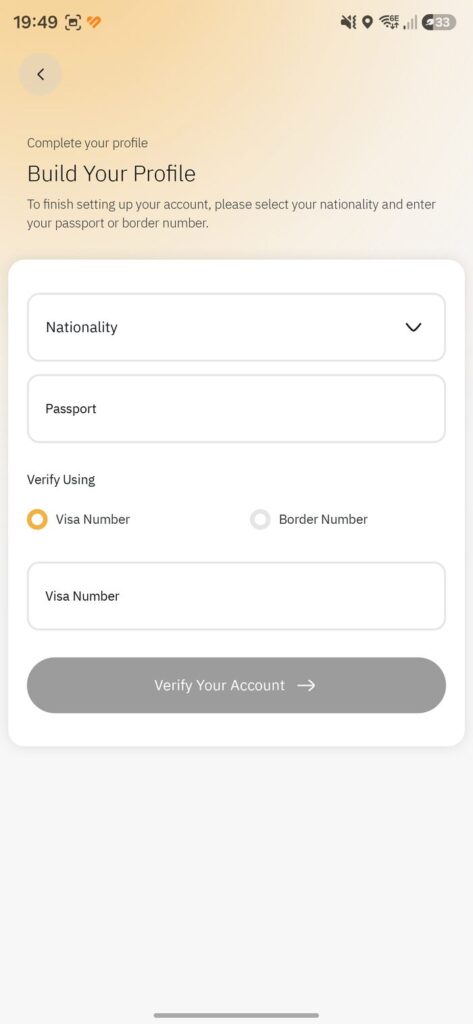
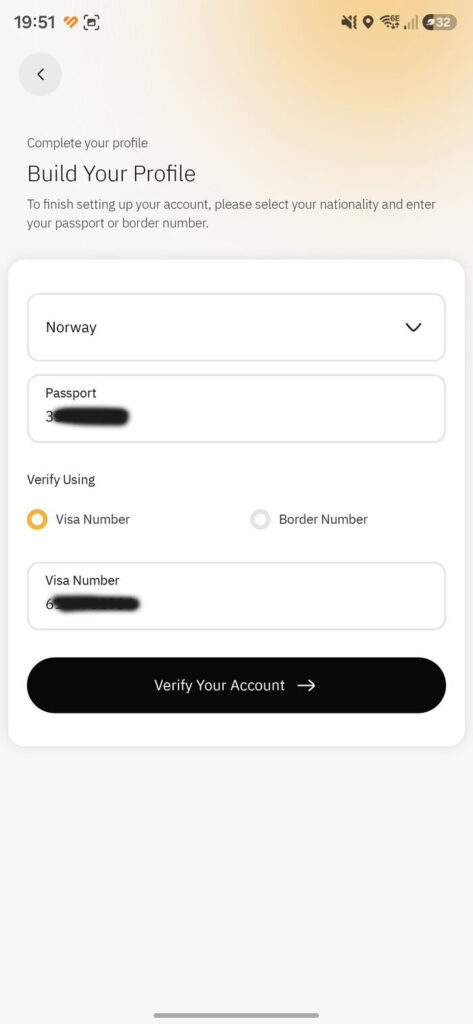
9. Build your profile
Provide your nationality, passport number, and one verification number — your visa number (on your e-Visa) or border number (assigned on entry).
10. Pick your nationality
Tap the field, search your country, and tap Confirm Selection.

11. Enter your numbers and verify
Type your passport and visa/border number exactly as printed, then tap Verify Your Account.
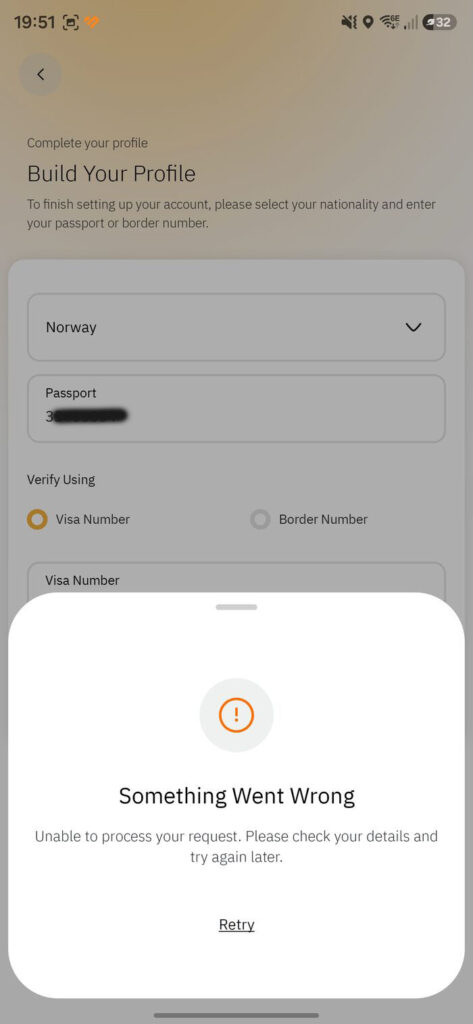
12. If you see “Something Went Wrong”
Usually your visa data hasn’t synced yet. Wait 24–48 hours after the visa was issued, re-check every digit, try the other number type, and retry. More fixes are in the Common mistakes chapter.
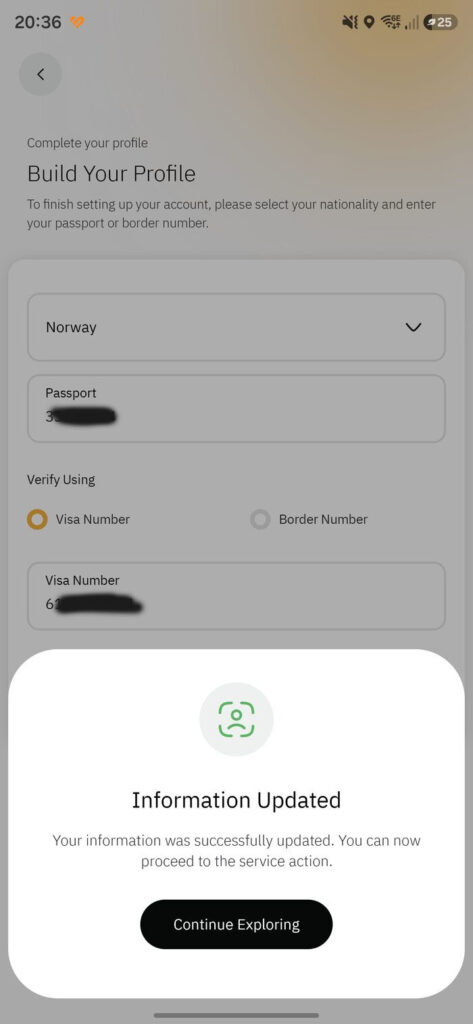
13. Success — “Information Updated”
When your details verify, you’ll see “Information Updated.” Tap Continue Exploring — your account is ready to book permits.
Leave A Comment